Kill Or Die Roblox Getting Started in Kill Or Die
Everything you need before your first serious public lobby.
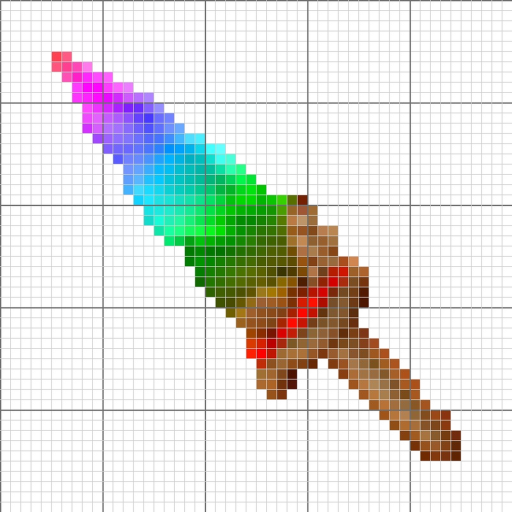
Kill Or Die exploded onto Roblox charts with a simple pitch — survive or eliminate — wrapped in a 1 vs All ruleset published under the 1st N 3rd group. Servers cap at twelve players, sessions average a quarter-hour, and the Welcome badge already shows a ~67% community win rate among millions of awards. That mix rewards players who understand the loop early instead of button-mashing through losses.
Install and launch
- Open Roblox on PC, mobile, or console.
- Search Kill Or Die or paste place ID
122181664638690. - Confirm the creator reads 1st N 3rd — impersonators exist for trending names.
- Tap Play and prefer public servers while learning; they fill faster and expose you to real hunter patterns.
Favorite the experience so patch days from Updates are one click away. Premium membership is optional; this game lists no mandatory gamepasses on public trackers yet.
Understand the genre tag
Roblox labels Kill Or Die Survival with a 1 vs All subgenre. Practically, that means rounds create uneven teams: one hunter (or hunter-equivalent role) versus everyone else. Exact role names may change in updates, but the tension stays the same — map control vs panic movement.
Read How to play next for phase-by-phase timing. If you spawn as the aggressor, skim How to win immediately; survivors should open How to survive in another tab.
First five minutes checklist
- Adjust camera sensitivity in Roblox settings before ranked-style grinding.
- Toggle shift lock on PC if you strafe in third person — see Controls.
- Listen for audio cues; many survival modes telegraph hunter swings or ability cooldowns.
- Do not AFK in lobby — chart tags mention AFK behavior and you may be kicked before rewards register.
- Claim the Welcome badge if prompted; it validates you finished a tutorial round.
Economy and codes (day one)
Kill Or Die may not ship a code redeemer at launch. Check Codes hub before wasting time on fake strings from unrelated games. When currency appears in the UI, spend on readability upgrades (trails, contrast skins) before flashy emotes — clarity wins in 1 vs All chaos.
Social and safety
Join discussions through verified links on Trello and Discord. Ignore “free Robux code” DMs. Report exploiters in-server using Roblox’s report flow rather than downloading random executors — Scripts hub explains why.
Your first ten matches goal
Aim for pattern recognition, not perfect K/D:
| Match band | Focus |
|---|---|
| 1–3 | Learn map boundaries and spawn locations (Maps). |
| 4–6 | Practice survivor chains — stick with groups, break line-of-sight. |
| 7–10 | Experiment with hunter timing from How to win. |
Track personal notes in Match checklist between sessions.
Where to go next
After ten matches, branch into Tier list roles for meta snapshots and Patch notes so you never practice outdated timers. Welcome to Kill Or Die — move with purpose, and treat every round as data.
Account hygiene
Enable two-factor authentication on your Roblox account before grinding public lobbies. Trending survival games attract impersonator groups and fake code sites — verify every link through Official links before clicking.
Frequently Asked Questions
Quick answers to the most common questions.
Is Kill Or Die free on Roblox?
Yes. The experience is free to join. Optional Roblox purchases may appear later, but none are required to play public lobbies.
How many players are in a Kill Or Die server?
Up to twelve according to the official place metadata. Full lobbies intensify hunter pressure.
What should I do after the tutorial?
Read How to play, set up Controls, then run the ten-match learning plan above.